The PM Forecast report is used to forecast PM work for a future day before the work orders have been created. for example, to look at the number of hours that will be spent on PM during summer vacation season, or look at the materials that will be required so you can plan around lead times.
Navigation
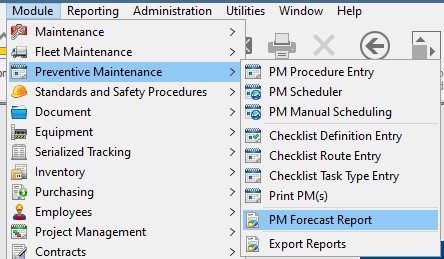
Access the PM Forecast report by going to:
- Module
- Preventive Maintenance
- PM Forecast Report
Setup
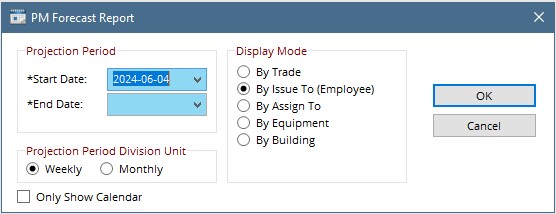
Projection Period: Here choose a period in the future by entering a start and an end date. the report will show PMs that will be due within that range.
Display Mode: When the report is run it will display the data in groups by the chosen mode. Each of these modes is a field on the PM Procedure Entry.
Projection Period Division Unit: The report will break down the data using this unit, either by week or by month.
Only Show Calendar: Check this box to display the report in calendar mode only. If this box is unchecked, the list report will display and there will be a button to view the calendar. If this box is checked, the list report will not display.
Report View – Hours
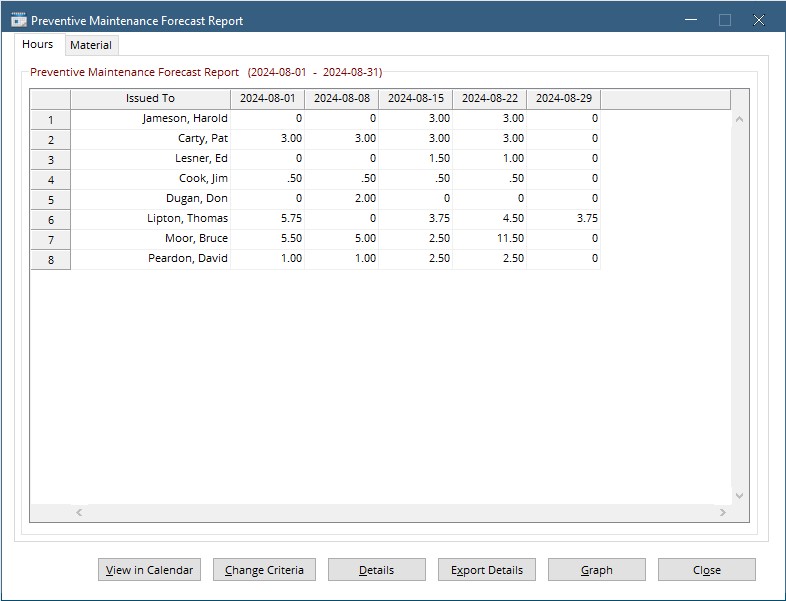
On this screen PM Hours are shown broken down by the Display Mode chosen (in this case Employee the PM is issued to) and the date the work would be scheduled for. Double-click any cell to see a list of PM entries that make up the the listed hours.

Click any of the displayed procedures and hit edit to view and modify the PM Procedure entry. Use the arrow keys at the bottom to scroll through the weeks for the displayed user.
Report View – Materials
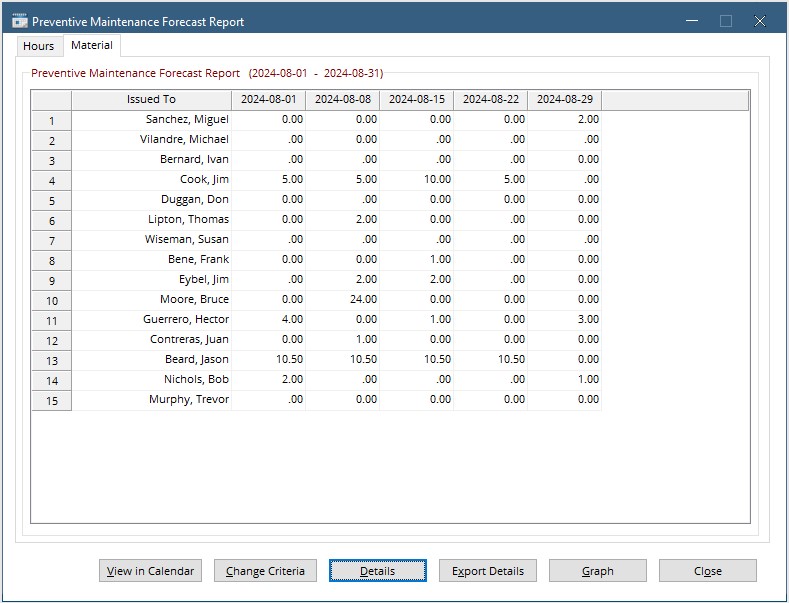
On this screen PM Materials are shown broken down by the Display Mode chosen (in this case Employee the PM is issued to) and the date the work would be scheduled for. The numbers displayed represent the number of items required for the PM. Double-click any cell to see a list of PM entries that make up the materials.
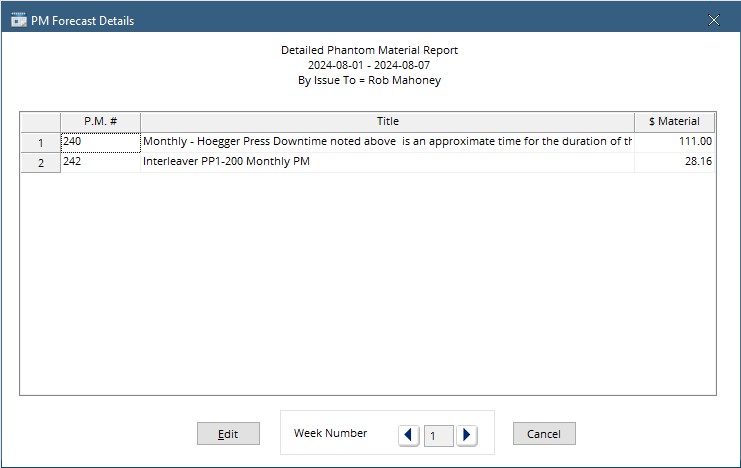
Here the material cost for each PM is shown. Double-click on any line to see the PM Entry for that PM.
Calendar View
The calendar view can be accessed when initially running the report by checking the Calendar View Only box, or after the report is run by clicking the View in Calendar button.
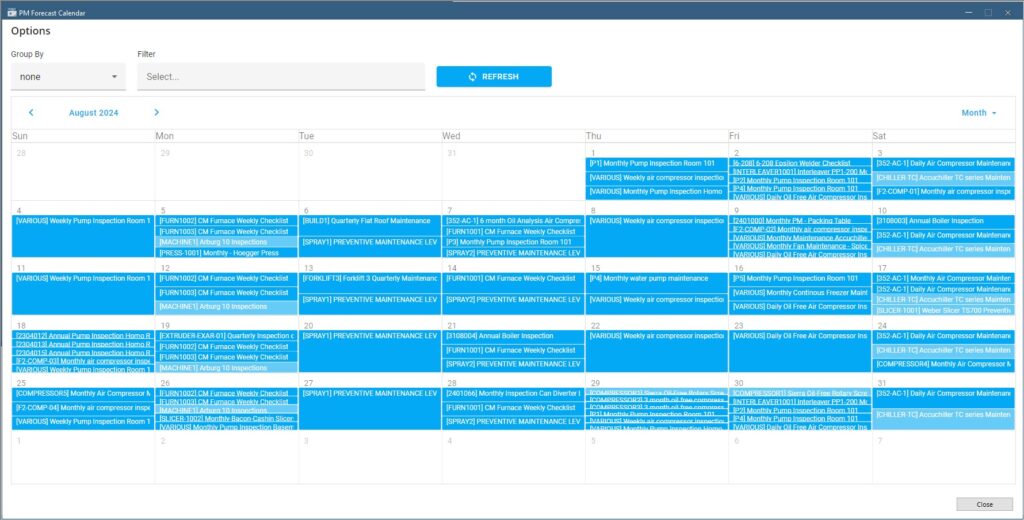
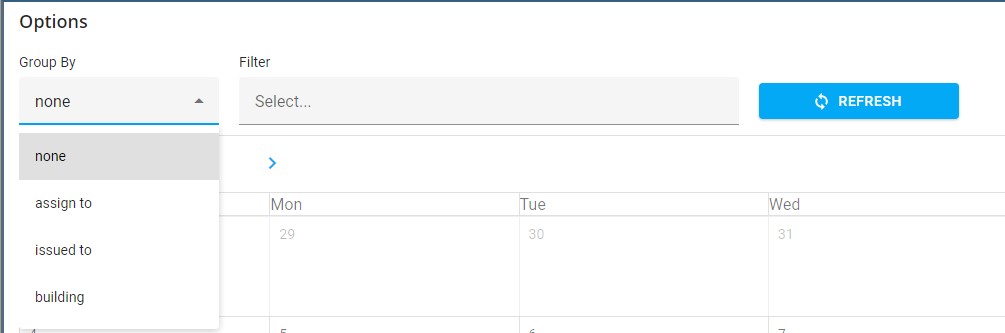
When the calendar is run it initially shows all PMs for the selected date range, Filtering the calendar will be done in the options section. First, click the drop-down on the Group By field and choose one of the 3 options to group by.
Now Hit Refresh. A calendar is shown for each group, in this case, each employee.
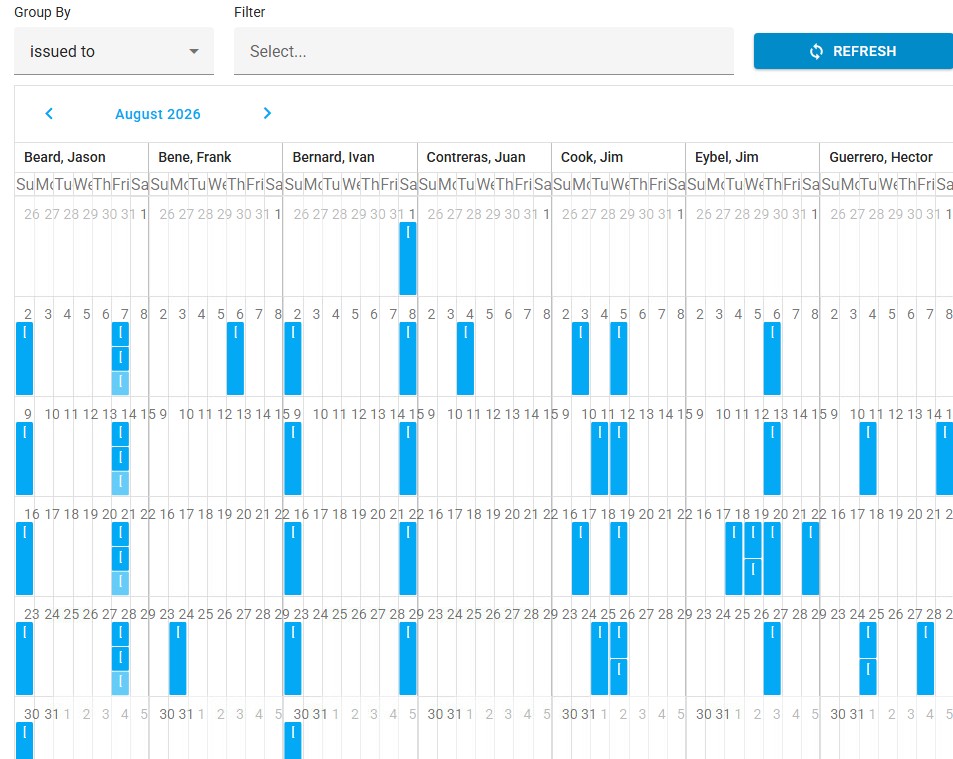
Add a filter by clicking in the filter field and selecting from the available options. Then hit Refresh.

Editing the PM Schedule
The PM schedule can be edited from this calendar by clicking and dragging an instance of the PM from one day to another. When doing this, the system will open the PM Procedure entry to explain what effect the change will have. Keep in mind a change from the calendar will change the whole schedule of the PM, not just one occurrence.