Requisitions are used as a point to generate a purchase order. Requisitions can be created from the Inventory Automatic Reorder process, from a Request for Quotation, or from the Requisition Entry screen. This article will focus only on the Requisition Entry screen.
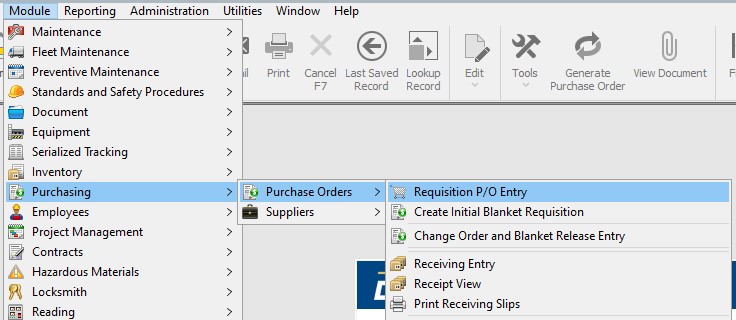
Navigate to the Requisition Entry screen by going to:
- Module
- Purchasing
- Purchase Orders
- Requisition P/O Entry
Filling out a Requisition

The top section of the screen contains:
- Requisition # – This is a sequential counter and will always give the next available number. This number is not the same as the PO# that will be generated later.
- Date – This will default to the current date but can be changed by clicking the drop-down and choosing another date from the displayed calendar.
- Type – The type will always be REG on this screen. The only other type is BLKT which is created from the Create Initial Blanket Requisition screen.
- Status – The status will default to NEW. The status cannot be changed from here but will change automatically As the REQ is processed. Click here for a list of requisition statuses and what they mean.
- General
- Line Item Details
- Approvals
- Notes
This Tab is made up of 2 sections.
Supplier Particulars – This will all be filled from the Supplier Entry once a supplier is chosen. These fields can be edited as well.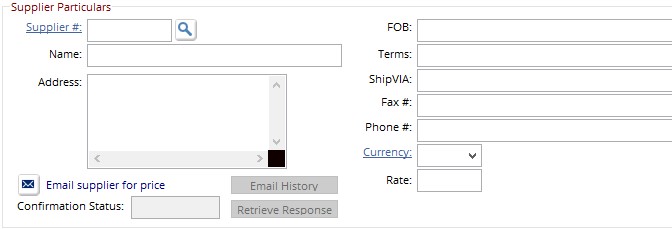
Approval Route – This section shows each time the requisition gets approved. and what desk it was sent to. Also shown is the current desk, this is the only person who can make a change to the requisition.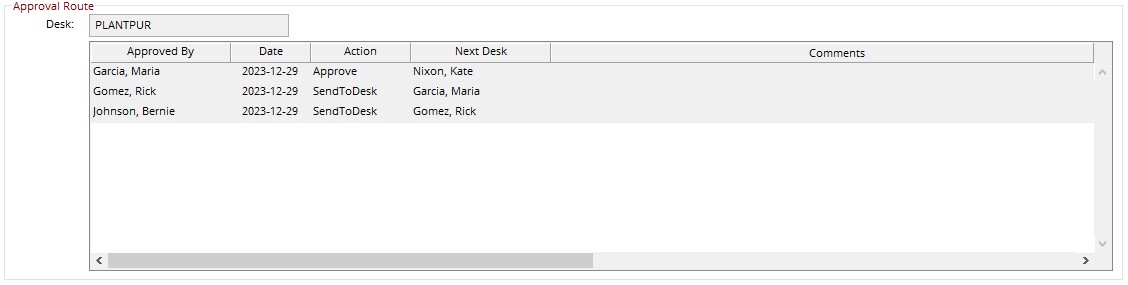
This is where items will be added to the order. Both inventory and non-inventory items can be added from this screen. Once an item is saved on the right-hand pane it will appear on the left-hand pane.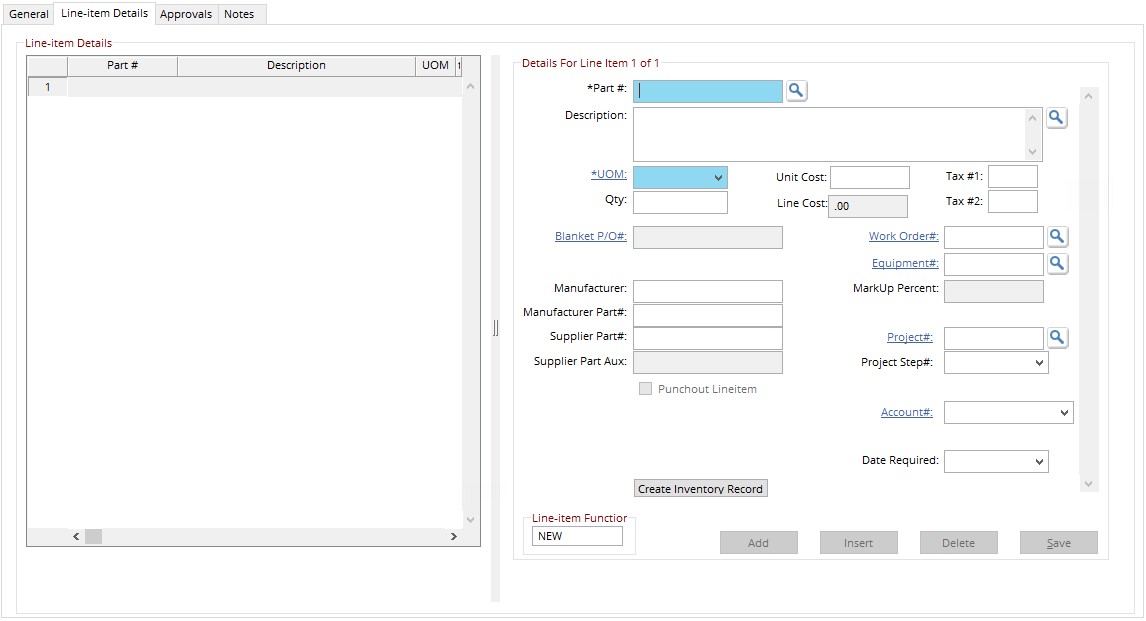
For Detailed instructions for adding line items, click here.
This is where the requisition will be approved. in the Approved By box enter the approval password. If a Purchasing Agent is required choose one from the list displayed.
Bill to and Ship to addresses are displayed at the bottom. These can be edited on this screen for this Requisition only, or edited in the Directline Defaults for all requisitions.
There are Buyer and Approval notes section on the Approvals tab as well Comments, Award Letter Notes and Invoicing Notes on the Notes tab. These are all text fields and can be filled as needed.
The contents of the Comments section will appear on a printed Req.
Once all information has been entered, hit save in the toolbar.